Tokyo’s after-dark landscape offers a spectacular playground for photographers seeking to capture the city’s urban energy, cultural contrasts, and pulsating lights. From iconic intersections drenched in brilliant colors to silent temple grounds bathed in lantern glow, each district invites a fresh perspective on modern life and tradition. Whether you’re wielding a full-frame DSLR, mirrorless camera, or even a smartphone, mastering the interplay of light and shadow will allow you to document Tokyo’s nocturnal personality with confidence and creativity.
The Neon Heart: Shibuya and Shinjuku
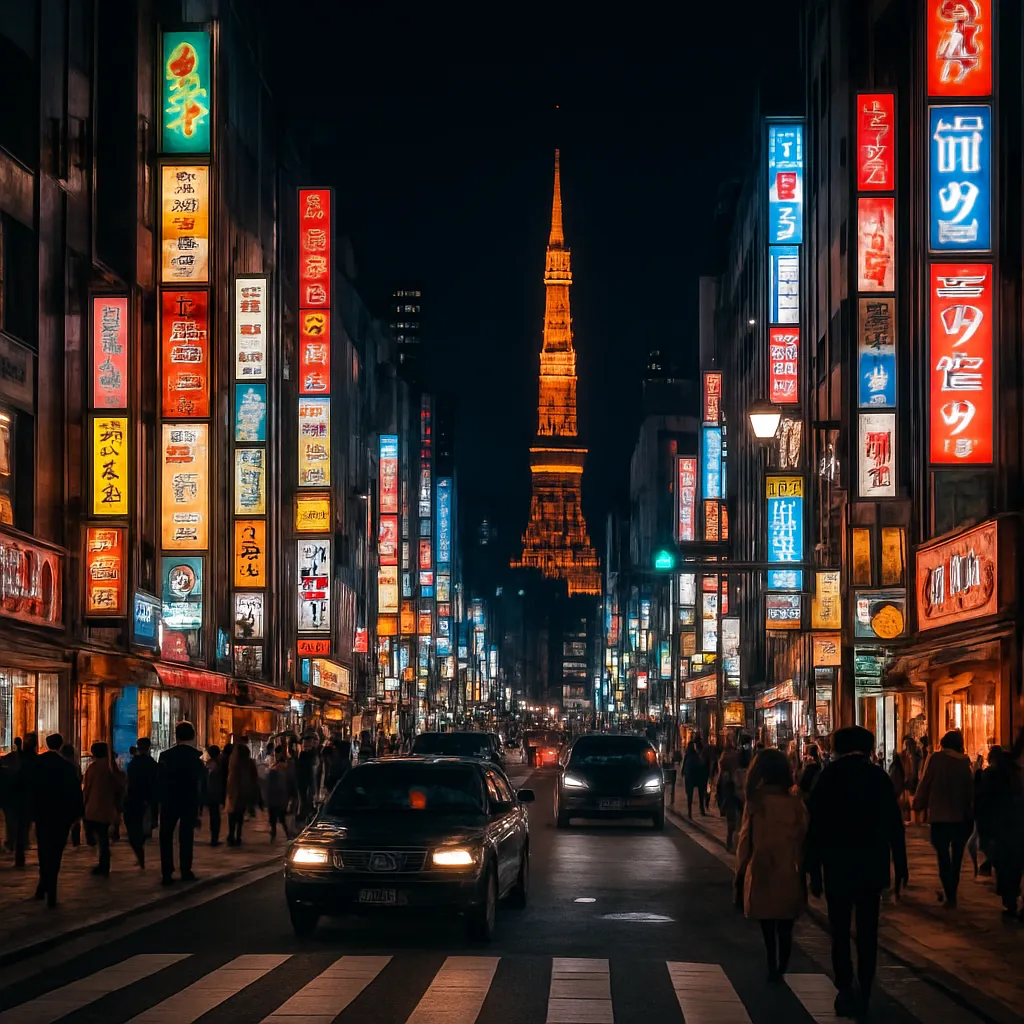
Shibuya and Shinjuku stand as Tokyo’s most celebrated hubs of bustling nightlife. Here, massive billboards flicker in every hue, foot traffic flows in choreographed chaos, and every corner feels like a frame waiting to be captured. To freeze the ceaseless motion of pedestrians crossing at Shibuya’s Hachiko Exit, set your camera on a steady tripod and dial in a moderate shutter speed (around 1/30 to 1/60 second). This approach preserves a crisp subject—perhaps a passerby pausing mid-step—while allowing subtle blurs to evoke the district’s kinetic energy.
In Shinjuku’s Kabukichō district, explore rooftops and elevated walkways to gain a vantage point above the glowing maze below. A wide-angle lens (16–35mm range) helps encompass the full expanse of signage, while a higher ISO setting (800–1600) can be balanced by opening your aperture (f/2.8–f/4). Don’t shy away from experimenting with underexposure by one stop to intensify the electric colors against a deepened sky.
- Shibuya Crossing: capture the rhythmic chaos at dawn or after midnight for a near-empty scene juxtaposed with glowing screens.
- Shinjuku Southern Terrace: ideal for panoramic shots over the station’s neon grid.
- Garden Tower Observation Deck: provides an elevated platform to photograph the sprawling cityscape and train lines weaving through light trails.
For long exposure starbursts around bright city lights, use an aperture between f/8 and f/11. This setting creates striking points of light radiating from street lamps and digital billboards. Remember to engage mirror lock-up or use a remote shutter release to minimize camera shake, ensuring razor-sharp results even at multi-second exposures.
Tranquil Lights: Asakusa and Sumida Riverside
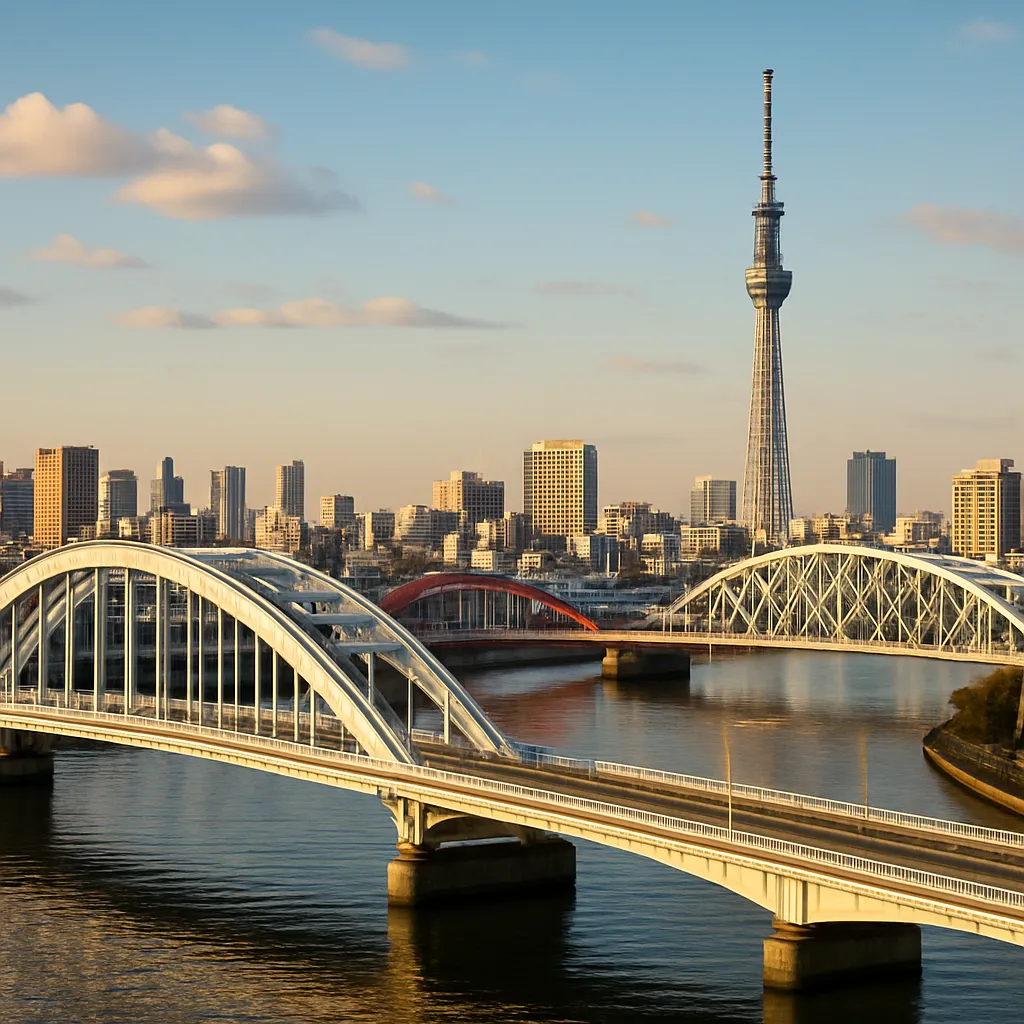
Switching from urban clamor to riverside serenity, Asakusa’s Senso-ji Temple and the adjoining Sumida River offer a more introspective approach to night photography. Lantern-lit corridors, wooden eaves, and the towering five-story pagoda create a timeless atmosphere. Start by locating vantage points along the riverbank to compose reflections of Tokyo Skytree and temple structures dancing on water. A small tripod and lens hood to suppress flare will guarantee clean, crisp reflections.
As light diminishes, increase exposure time to 5–15 seconds at ISO 100, capturing millions of twinkling lights mirrored on the gently rippling surface. Employ a circular polarizing filter to enhance contrast and deepen color saturation, especially when photographing the vermillion tones of temple gates against the midnight blue sky.
- Azuma Bridge: a classic spot for framing Senso-ji with river reflections.
- Sumida Park Promenade: lined with cherry trees, it becomes exceptionally photogenic in spring and autumn illuminated by lanterns.
- Riverside Ferry Boarding Area: shoot passing boats’ motion trails for artistic foreground interest.
For those looking to emphasize architectural details, switch to a telephoto lens (70–200mm). This lets you isolate the temple’s ornate carvings and the elegant curvature of its rooftops, silhouetted against modern towers. Bracket exposures by capturing multiple frames at different settings, ensuring highlights and shadows are preserved for later blending in RAW format. Such stacking techniques will help you maintain fine detail in both the lantern-lit eaves and the deep black of the night sky.
Hidden Gems: Backstreets and Rooftops
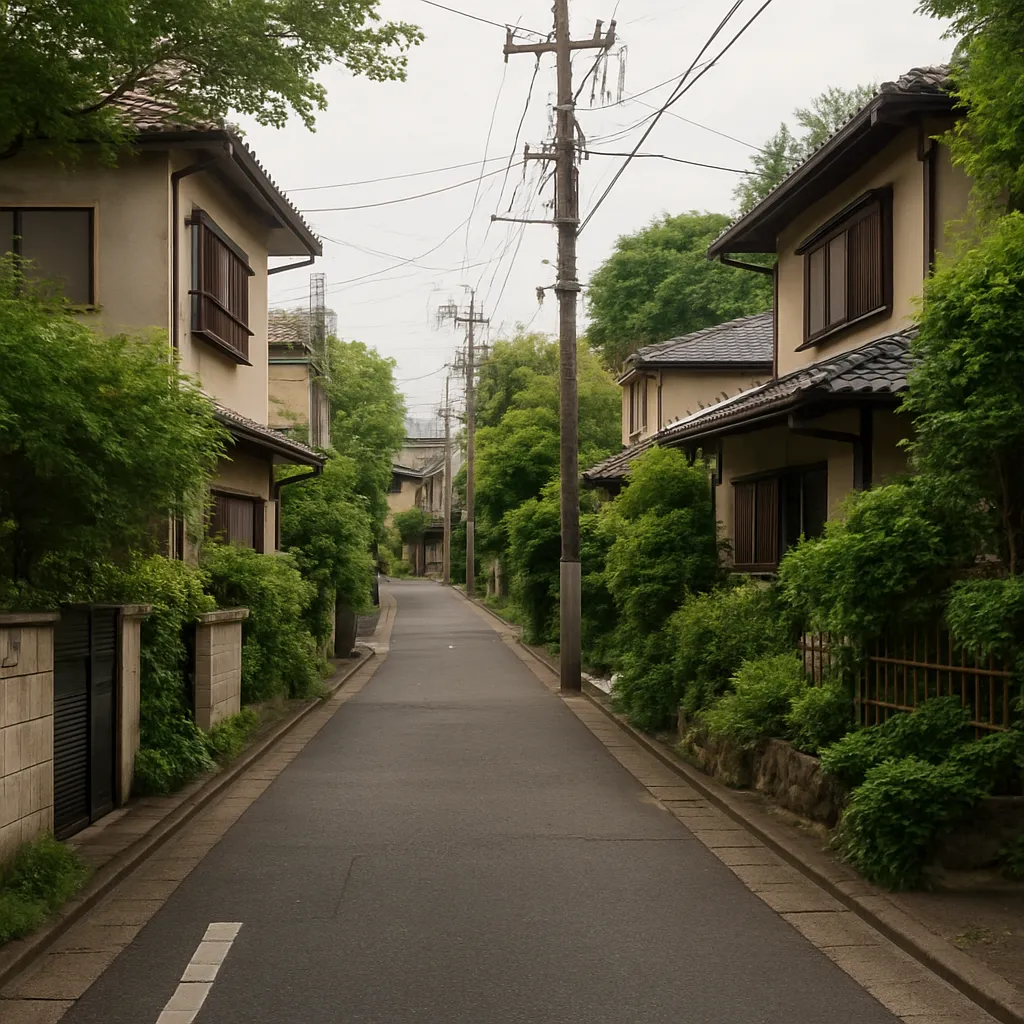
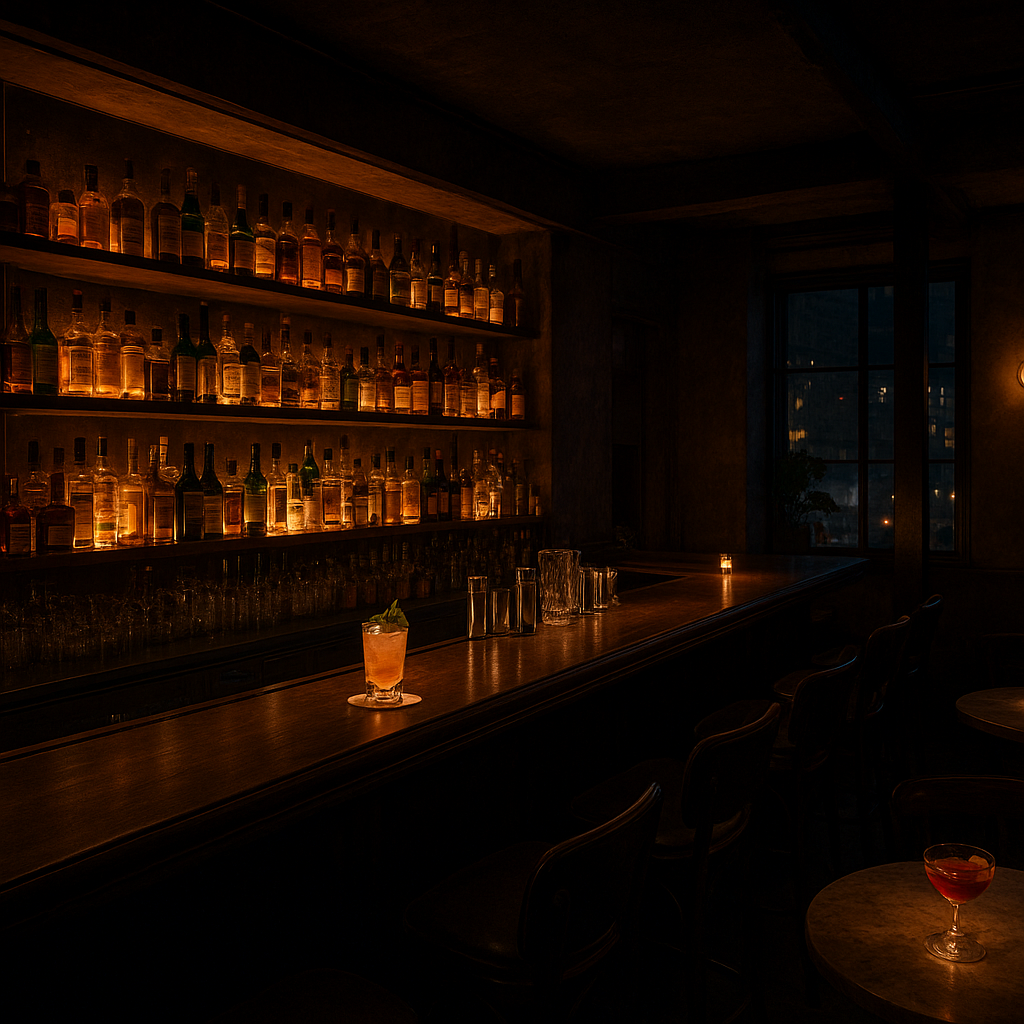
Beyond the headline districts, countless alleyways and elevated vantage points offer intimate encounters with Tokyo’s nocturnal spirit. Golden Gai in Shinjuku and Omoide Yokocho near Shinjuku Station reveal tucked-away bars under low-hanging lanterns. Use a fast prime lens (35mm or 50mm, f/1.4–f/1.8) for handheld shooting, allowing you to capture atmospheric portraits and detailed signage in ambient glow. A higher ISO (1600–3200) may be necessary—but stay mindful of noise by not exceeding your camera’s comfortable limit.
Seek out public rooftop terraces—many department stores and hotels feature open-air decks free to the public. From these perches, you can photograph the intersection of narrow lanes bursting with neon and glass-clad towers rising in the distance. Employ the rule of thirds to balance foreground interest (a cluster of low-rise buildings) with the soaring skyline beyond.
- Golden Gai alleys: experiment with shallow depth of field to blur background crowds and focus on individual lanterns or signage.
- Ebisu Garden Place Observatory: offers a panoramic perspective on Yebisu district, incorporating both modern and historic architecture.
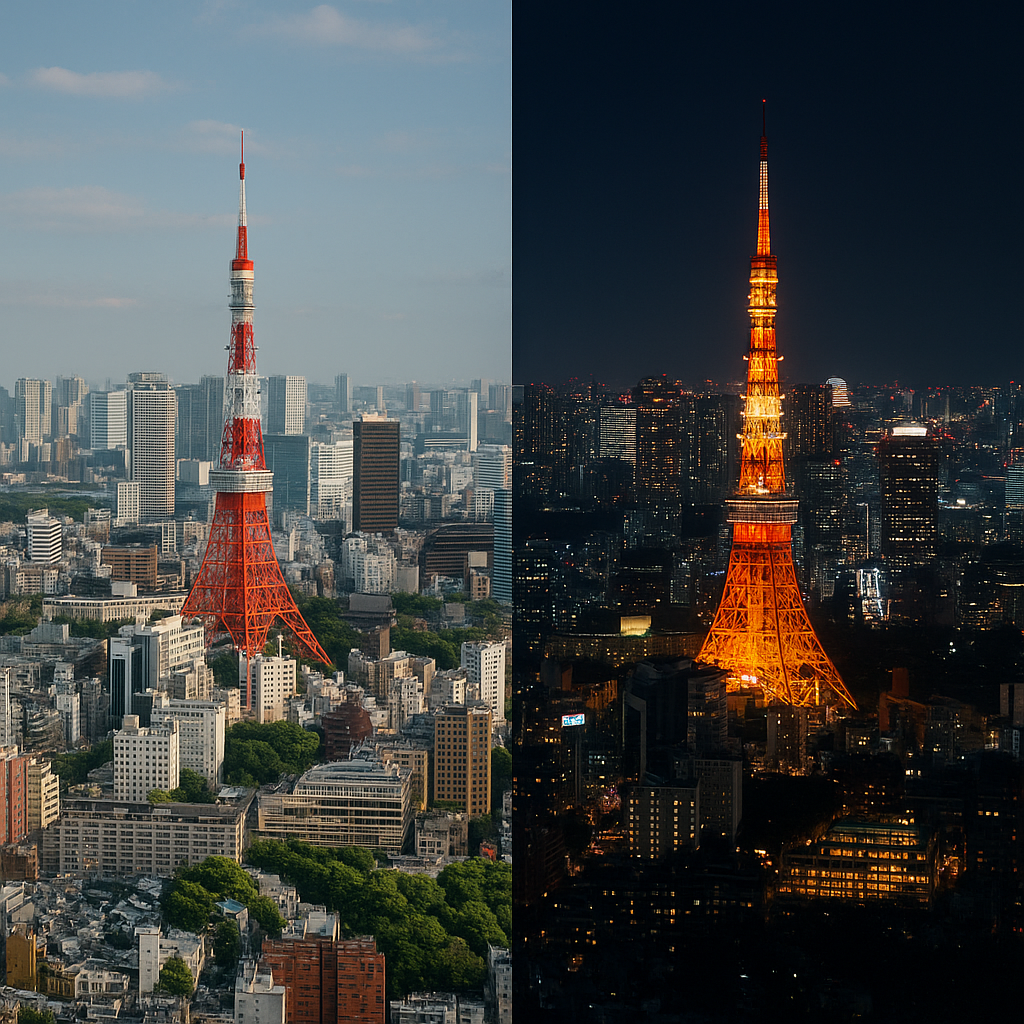
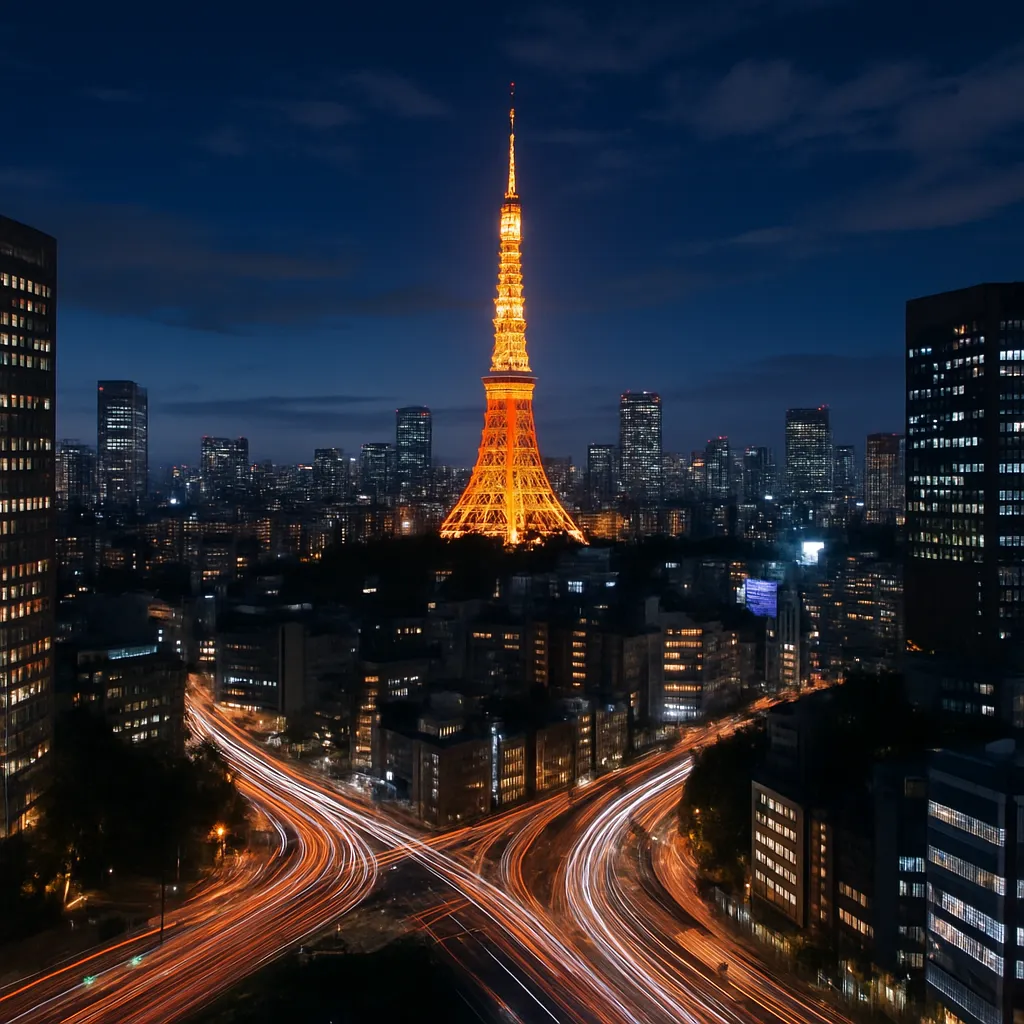
- Roppongi Hills Mori Tower Roof: vantage for capturing Tokyo Tower’s red glow piercing the night sky.
For truly dynamic compositions, incorporate human subjects—ask a local friend to stand beneath a neon sign or lean on a guardrail overlooking city lights. Their silhouette will add scale and narrative to your frame. Avoid harsh flash by bouncing a small LED panel off nearby surfaces or using continuous light at low intensity to preserve the natural ambiance.
Mastering Night Photography Techniques
Tokyo’s varied nighttime settings provide the perfect classroom for refining core photography skills. Whether you’re chasing bold cityscapes or serene temple scenes, understanding exposure, focus, and post-processing will elevate your images from snapshots to works of art.
Exposure Strategies
- Manual Mode Mastery: Take full control over your aperture, shutter speed, and ISO to fine-tune brightness and depth of field. A wider aperture brightens the scene and increases bokeh, while a longer shutter speed enhances light trails and reflections.
- Bracketing and HDR: Combine multiple exposures to balance the brightest neon signs and the darkest alleys without losing detail. Merge frames in post to achieve a rich tonal range.
- Histogram Awareness: Check your histogram regularly to avoid clipping highlights in vibrant signs and preserve detail in shadowed areas.
Composition Principles
- Leading Lines: Use roads, rail tracks, or bridges as guides that draw the viewer’s eye into the frame.
- Symmetry and Framing: Look for architectural elements—such as doorways or window patterns—that naturally frame your subject.
- Negative Space: Embrace minimalist compositions in quieter districts like Odaiba or along the Rainbow Bridge, where vast sky or water can accentuate a lone structure.
Post-Processing Tips
- RAW Workflow: Always shoot in RAW. This unlocks maximum color depth and recoverable detail in highlights and shadows.
- Color Grading: Enhance Tokyo’s signature neon tones by selectively boosting cyan and magenta in the midtones, while cooling down highlights for greater visual impact.
- Noise Reduction: Apply targeted noise reduction on high-ISO areas, preserving sharpness on edges and textures.
- Local Adjustments: Use radial filters or adjustment brushes to brighten faces, intensify glow on lanterns, or darken overexposed screens.
By venturing into both well-known districts and lesser-traveled corners, photographers can uncover Tokyo’s myriad personalities—each illuminated by an urban tapestry of light and shade. Armed with the right settings, gear, and compositional vision, your night shots will not only capture the city’s luminous spectacle but also convey the unique atmosphere that makes Tokyo an endless source of inspiration.