Capturing the vibrant essence of Tokyo at night can transform ordinary snapshots into memorable works of art. With its dazzling city lights, bustling streets, and unique architectural features, the metropolis offers endless opportunities for photographers eager to explore urban nocturnal beauty. By understanding essential techniques, preparing the right equipment, and scouting prime locations, you can master the art of night photography in one of the world’s most dynamic cities.
Exploring Tokyo’s Iconic Nightscapes
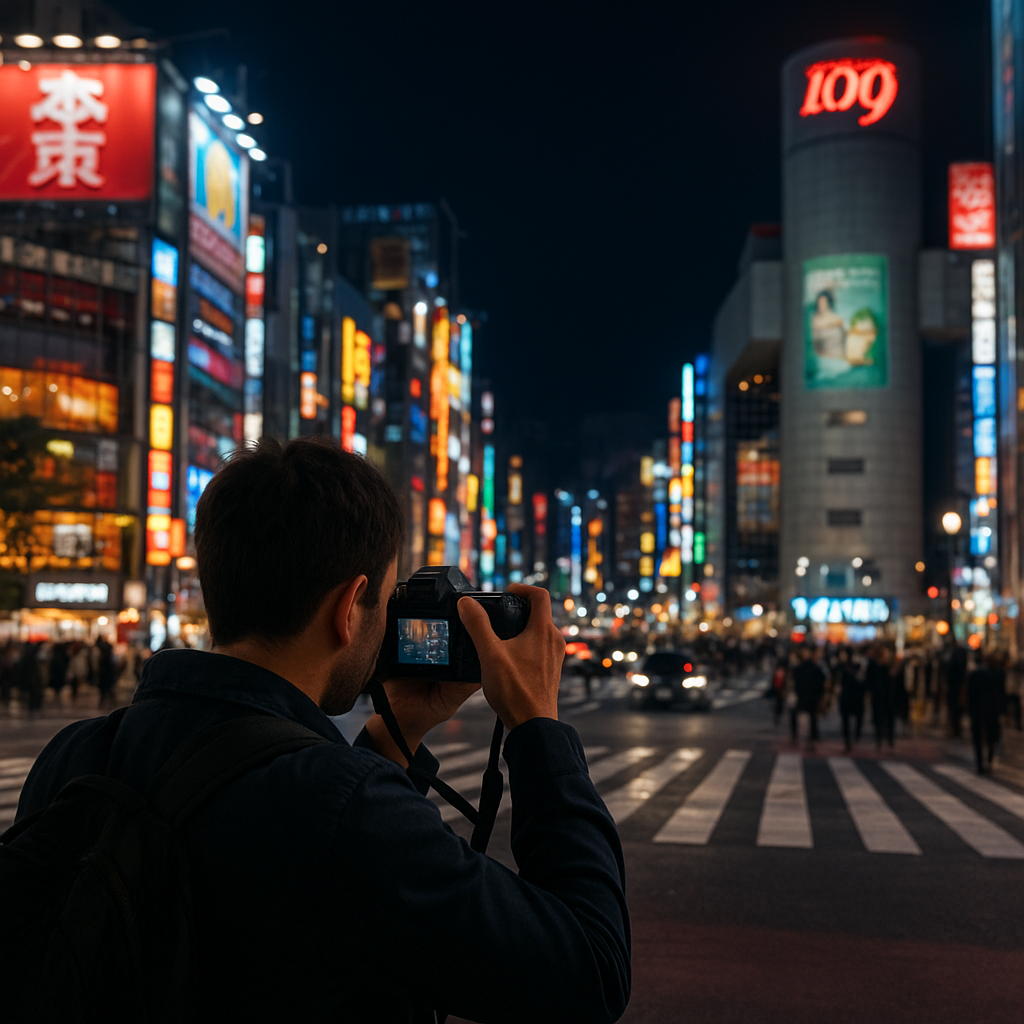
Shibuya Crossing and Urban Flow
Few scenes encapsulate Tokyo’s energy like the legendary scramble at Shibuya Crossing. Thousands of pedestrians surge across multiple roads in synchronized chaos, creating a mesmerizing tapestry of movement. A slower shutter speed—typically between 1/4 and 1 second—will produce light trails from passing vehicles and blur the crowd just enough to convey motion while retaining sharp details in stationary objects. Position your camera on a tripod at one of the nearby cafés or elevated sidewalks for a stable vantage point. Experiment with framing: center the crossing to emphasize symmetry or shift to an off-center composition for a more dynamic, cinematic effect.
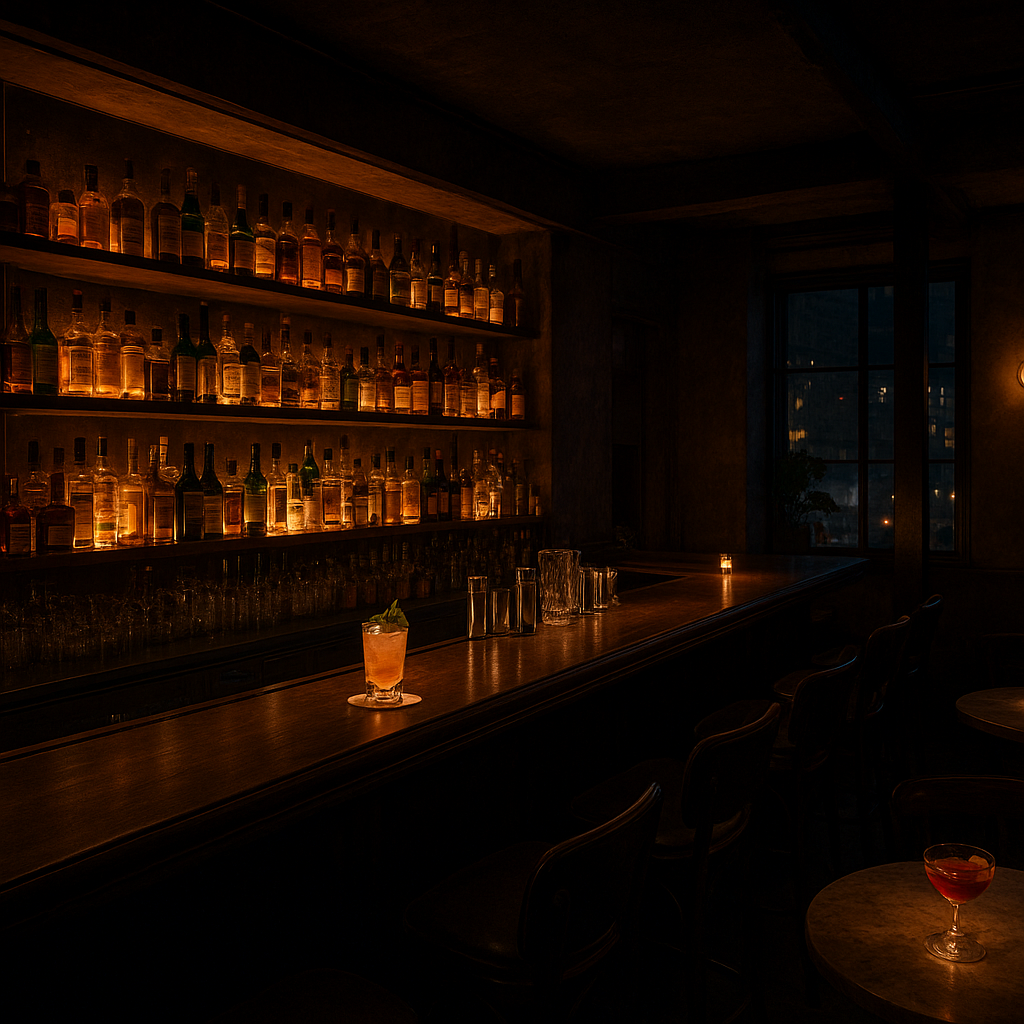
Shinjuku Golden Gai and Neon Alleys
Hidden behind Shinjuku’s gleaming towers is a maze of intimate alleys lined with tiny bars and glowing lanterns. This area, known as Golden Gai, rewards close-up exploration. Use a wide aperture (f/1.8–f/2.8) to blur background distractions and focus on a single lantern or street sign. In such tight spaces, boosting your ISO to 800–1600 helps maintain a fast enough shutter speed to avoid camera shake. Embrace the interplay of shadows and light: look for reflections in puddles or wet asphalt to introduce depth and intrigue.
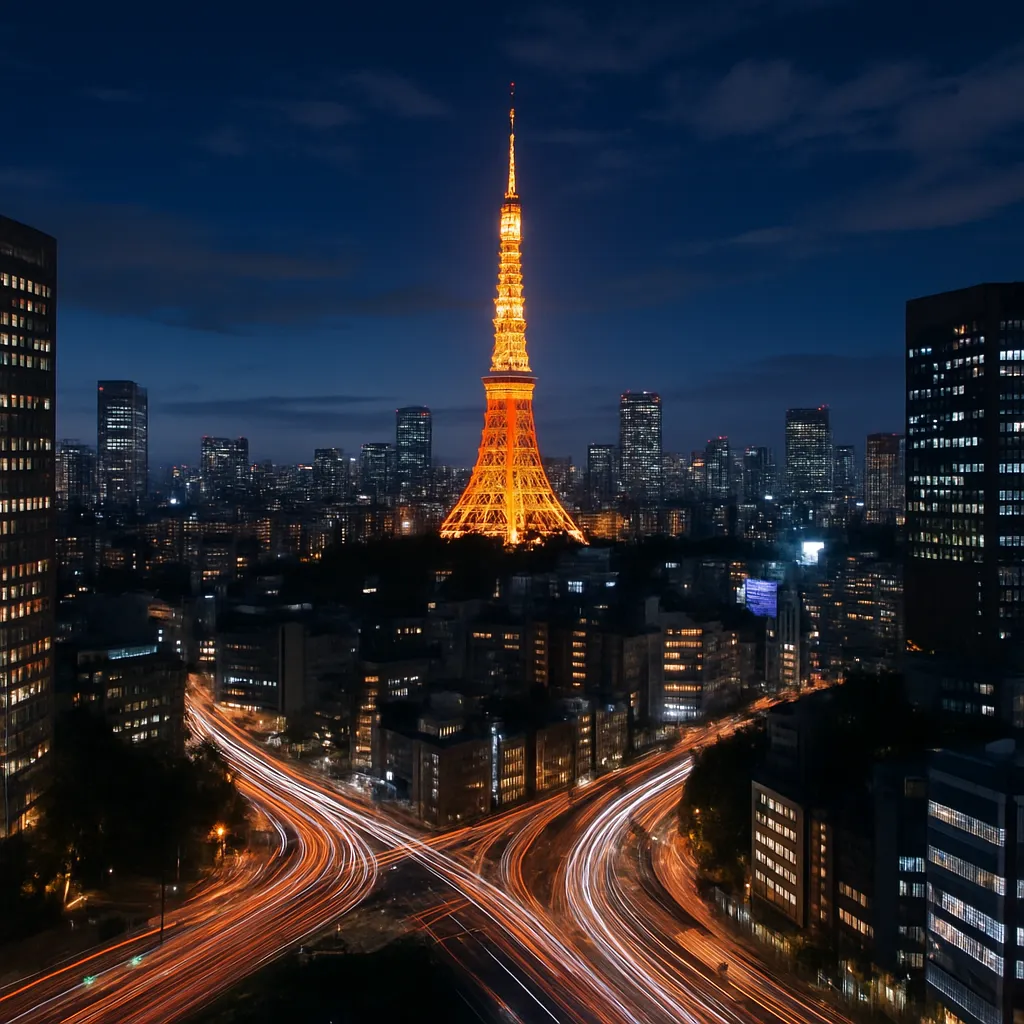
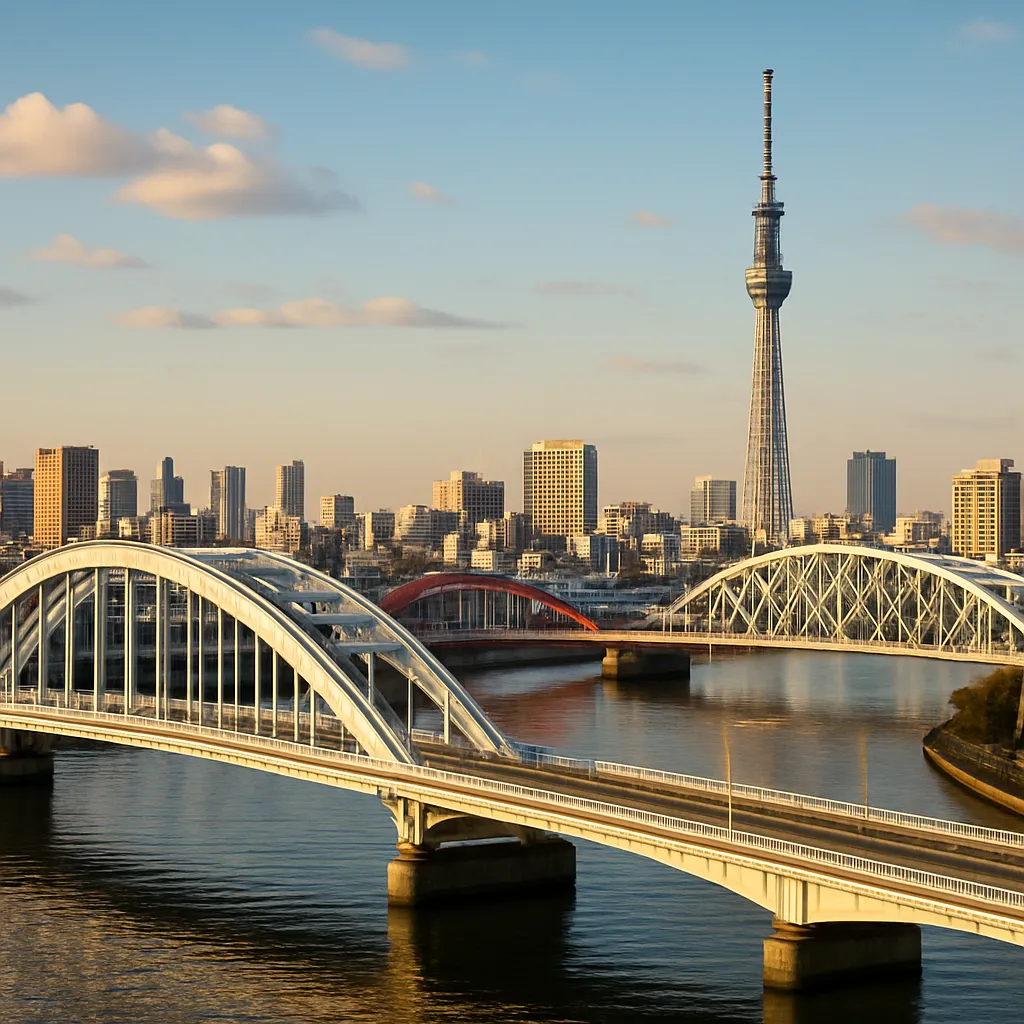
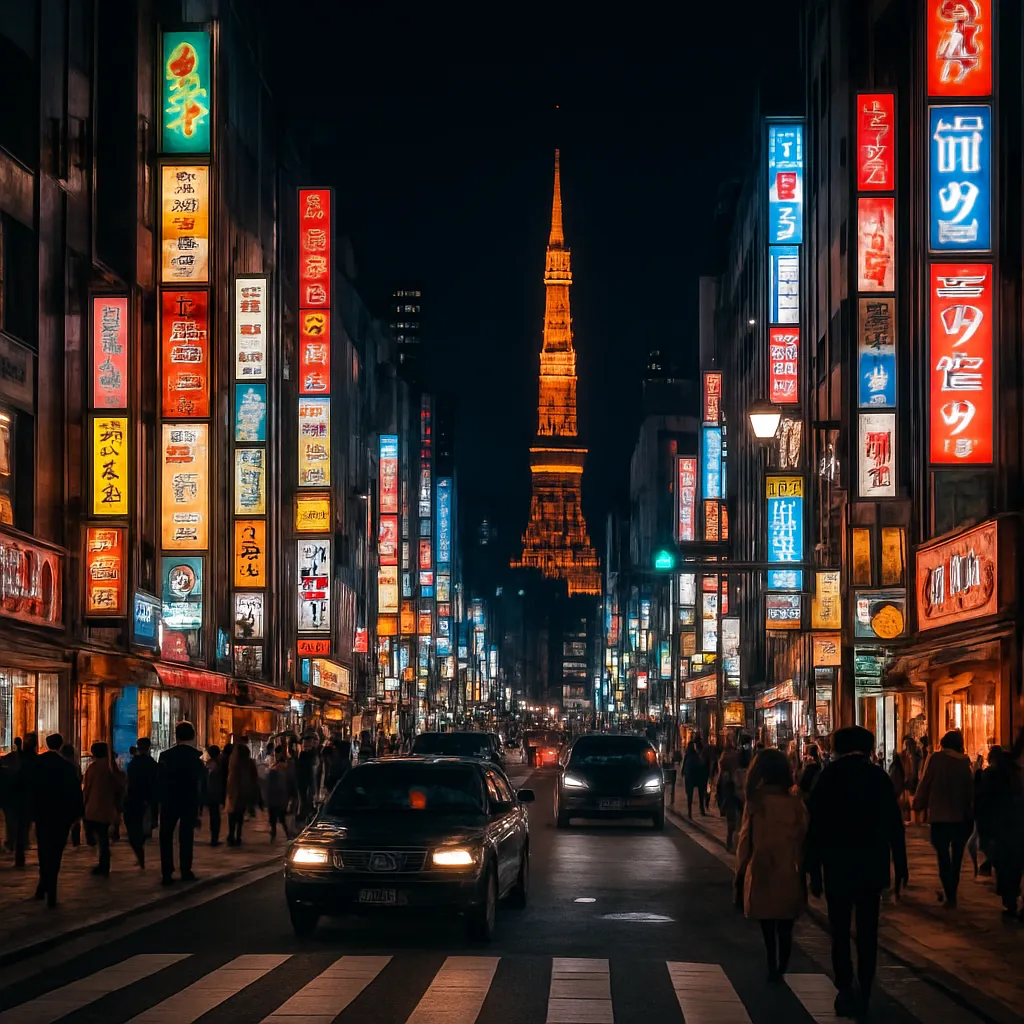
Tokyo Tower and Rainbow Bridge Panorama
For panoramic vistas, head to the observatory decks of Tokyo Tower or Odaiba’s waterfront. At night, the illuminated structure of Rainbow Bridge creates a striking foreground against Tokyo Bay’s glittering skyline. A longer exposure—several seconds or more—captures smooth water textures and accentuates the colorful lights. Remember to switch to manual focus to ensure distant buildings remain crisp. Use your camera’s grid lines to align the horizon and keep verticals straight, enhancing overall composition.
Mastering Camera Settings in Low Light
Balancing ISO and Noise Management
High ISO settings increase sensor sensitivity but introduce digital noise. To achieve clean, detailed shots, aim to keep ISO under 3200 if your camera allows. If you must push to 6400 or above, use in-camera noise reduction or apply noise reduction during post-processing. Always shoot in RAW format to preserve maximum detail and give yourself flexibility when adjusting exposure or reducing noise later.
Optimizing Shutter Speed for Motion Effects
Choosing the right shutter speed depends on your creative goal. For streaking car lights along winding roads, try exposures of 5–15 seconds. To freeze pedestrian movement, select 1/60 second or faster. Hybrid techniques, like panning, allow you to follow a moving subject at a slower shutter speed, keeping it sharp while blurring the background. Practice smooth camera movements and use a remote shutter release or timer to minimize unintended shake.
Aperture and Depth of Field Considerations
A wide aperture (low f-number) gathers more light and isolates subjects with a shallow depth of field, ideal for street portraits or highlighting a single neon sign. For cityscapes where foreground and background elements must both be sharp, close down your aperture to f/8–f/11. Keep in mind that very small apertures (f/16–f/22) can introduce diffraction, reducing overall sharpness. Test various apertures to determine your lens’s sweet spot for nighttime clarity.
Using manual focus and RAW Format
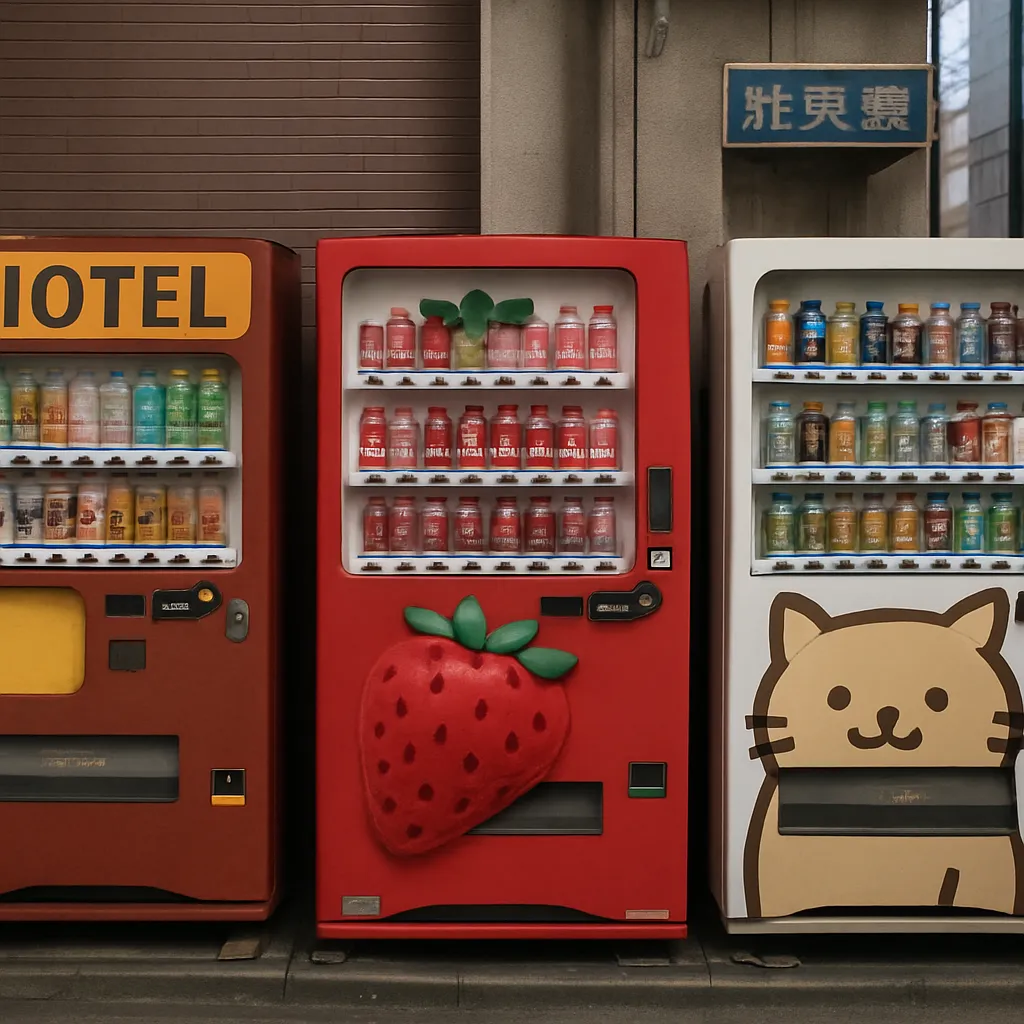
Autofocus can struggle under dim, artificial lighting. Switch to manual focus to ensure critical details—such as kanji characters on shop signs—remain razor-sharp. Magnify the live view screen to adjust focus precisely. Shooting in RAW preserves the widest dynamic range, enabling you to recover shadow details and control highlights without degrading image quality. Most modern cameras offer in-camera histograms; use them to avoid clipping important tonal information.
Essential Gear and Preparation
Choosing the Right tripod
A sturdy, lightweight tripod is indispensable for night work. Look for a model with a center column that detaches or angles for low-to-the-ground perspectives. Quick-release plates save time when transitioning between handheld and mounted shots. Ensure the legs lock securely on uneven surfaces like gravel sidewalks or street curbs.
Lens Selection and Accessories
A fast prime lens (35mm or 50mm with f/1.4–f/2.8) excels in low light, delivering crisp results and pleasing bokeh for background lights. For broader vistas, a wide-angle zoom (16–35mm) captures expansive cityscapes. Carry a microfiber cloth to wipe off moisture or fingerprints, and pack extra batteries—long exposures and live view drain power quickly.
Apps and Maps for Strategic Planning
Smartphone apps such as Photopills or The Photographer’s Ephemeris help you track sunset times, moon phases, and light conditions. Use mapping tools to pre-visualize shooting angles and estimate travel times between locations. If possible, scout your spots during the late afternoon to identify obstacles, framing options, and safe trip hazards before it gets dark.
Creative Techniques for Dynamic Shots
- Long exposure to capture light trails from vehicles, airplanes, or ferries crossing Tokyo Bay.
- Reflection photography on wet streets, glass windows, or water-filled containers for a mirror-like effect.
- High-contrast silhouettes against bright backlighting near illuminated billboards.
- Multiple exposure techniques to blend different scenes—such as combining star trails above city lights.
- Color isolation by emphasizing one hue (for instance, neon red lanterns) in an otherwise monochrome scene.
Top Night Photography Spots in Tokyo
- Shibuya Crossing: Iconic crossroads with dazzling video screens and constant motion.
- Roppongi Hills Observatory: Panoramic skyline vistas featuring Mori Tower and beyond.
- Odaiba Seaside Park: Rainbow Bridge reflections across Tokyo Bay’s calm waters.
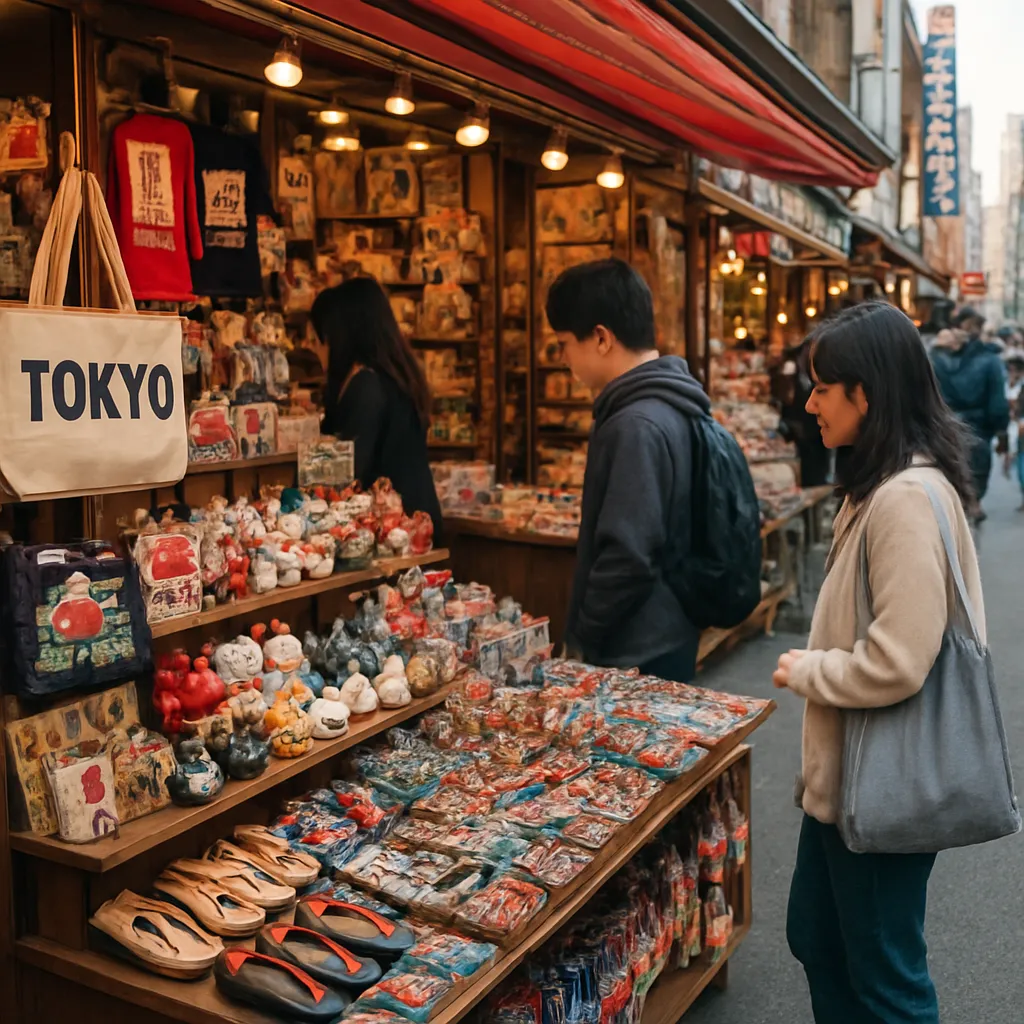
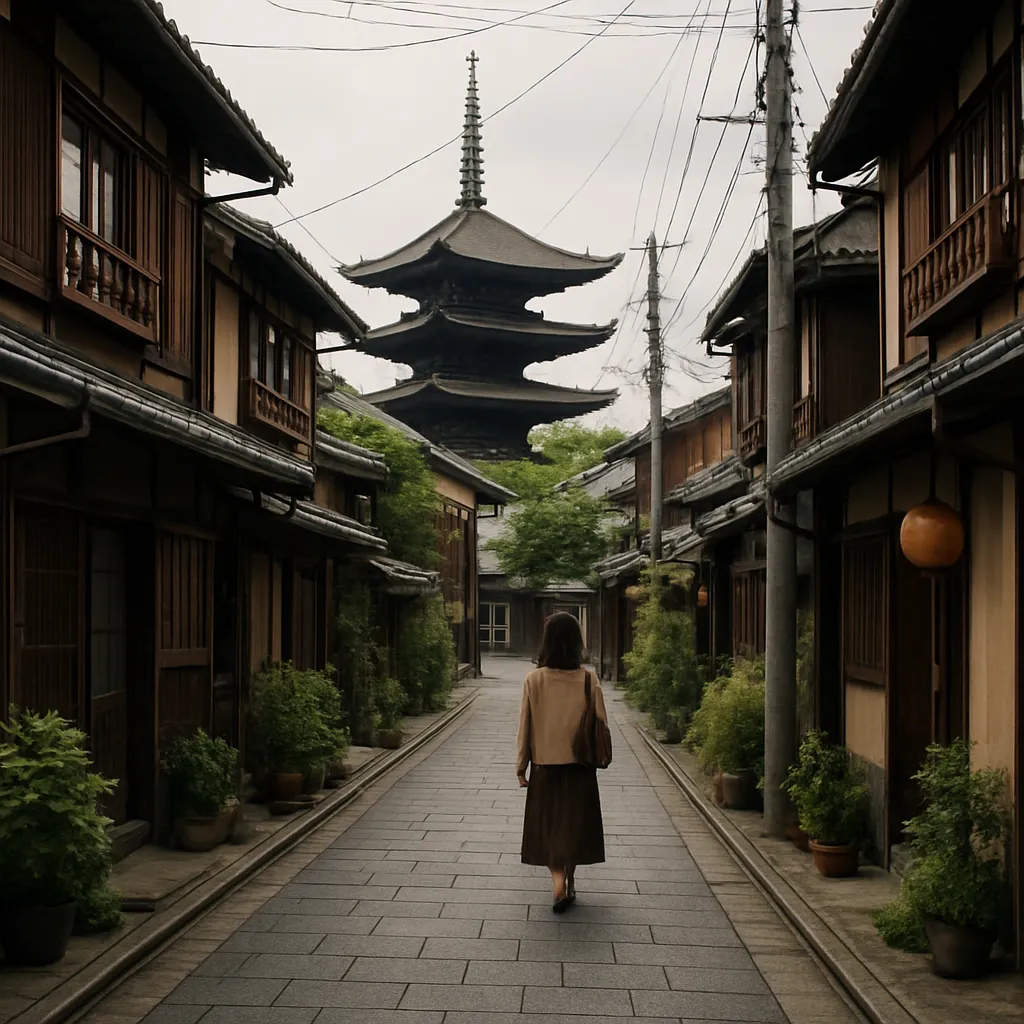
- Asakusa and Senso-ji: Traditional temple lanterns contrasted with modern street stalls.
- Akihabara: Neon sign forests illuminating electronics markets and gaming arcades.