Nighttime in Tokyo unveils a world of vibrant colors, dynamic energy, and photographic opportunities that rival any major global city. From the bustling neon-lit streets of Shinjuku to the serene riverside reflections in Meguro, every corner offers a chance to capture the city’s unique atmosphere. Whether you’re a seasoned photographer or a curious traveler with a smartphone, mastering the art of night photography in Tokyo requires understanding key techniques, scouting the best locations, and embracing the unexpected moments that make urban photography so exhilarating.
Capturing Neon-Lit Streets
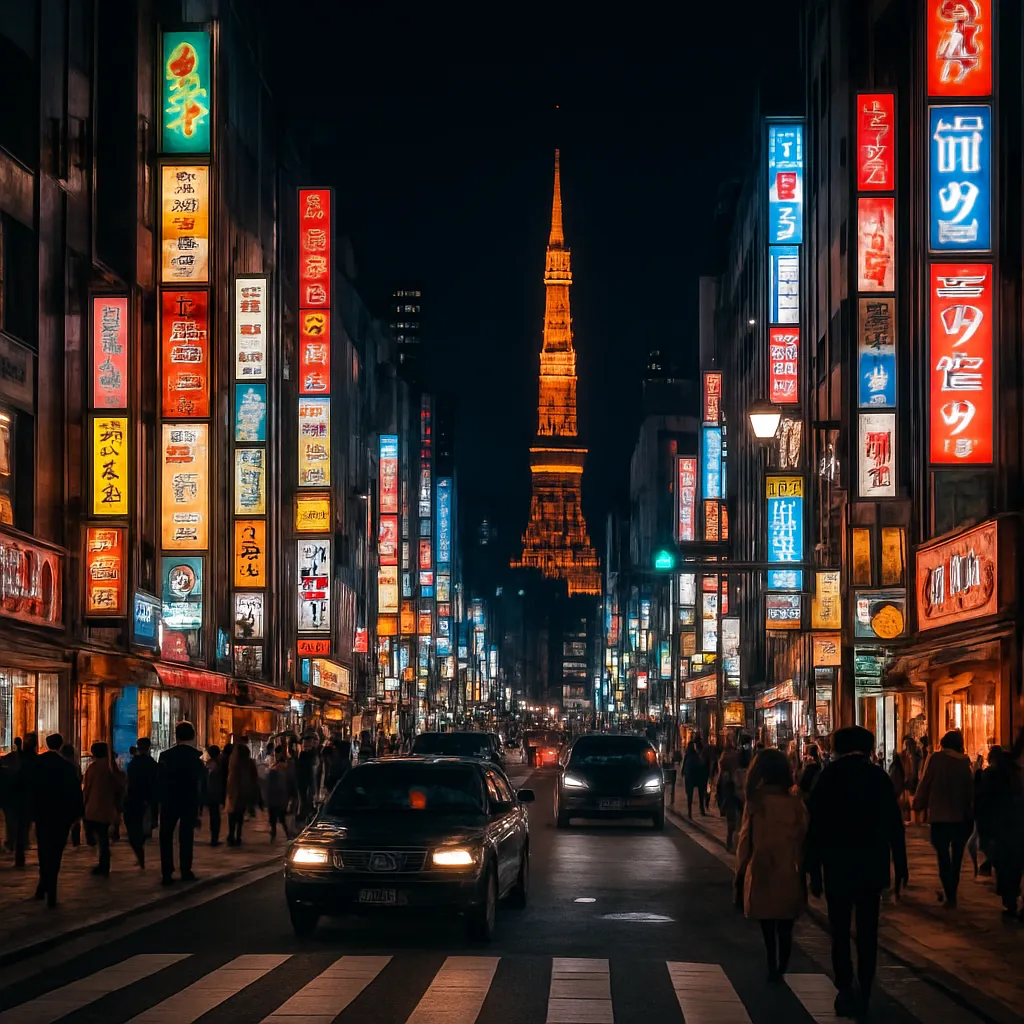
The sprawling districts of Shibuya, Shinjuku, and Akihabara are famous for their endless sea of lights, billboards, and bustling crowds. Photographing these scenes involves balancing ambient light with artificial sources to create images that convey both clarity and mood.
Choosing the Right Gear
- Camera body: A full-frame or APS-C sensor offers better low-light performance.
- Lenses: Fast prime lenses (f/1.4–f/2.8) help gather more light and produce beautiful bokeh.
- Tripod or monopod: Stability is crucial for longer exposures, especially when shooting skyscrapers and signs.
- Filters: Neutral density (ND) or polarizing filters can help manage reflections and long exposures.
Key Techniques
Begin by setting your ISO as low as possible to minimize noise. Adjust the shutter speed to capture the colorful streaks of passing cars and glowing storefronts. A moderate aperture (around f/5.6–f/8) ensures sufficient depth of field, keeping foreground and background elements sharp. Experiment with exposure times ranging from 1/10 second up to several seconds to find the balance between motion blur and sharp details.
Scouting Prime Locations
- Shibuya Crossing: Iconic intersection, best shot from the second-floor Starbucks or nearby pedestrian bridges.
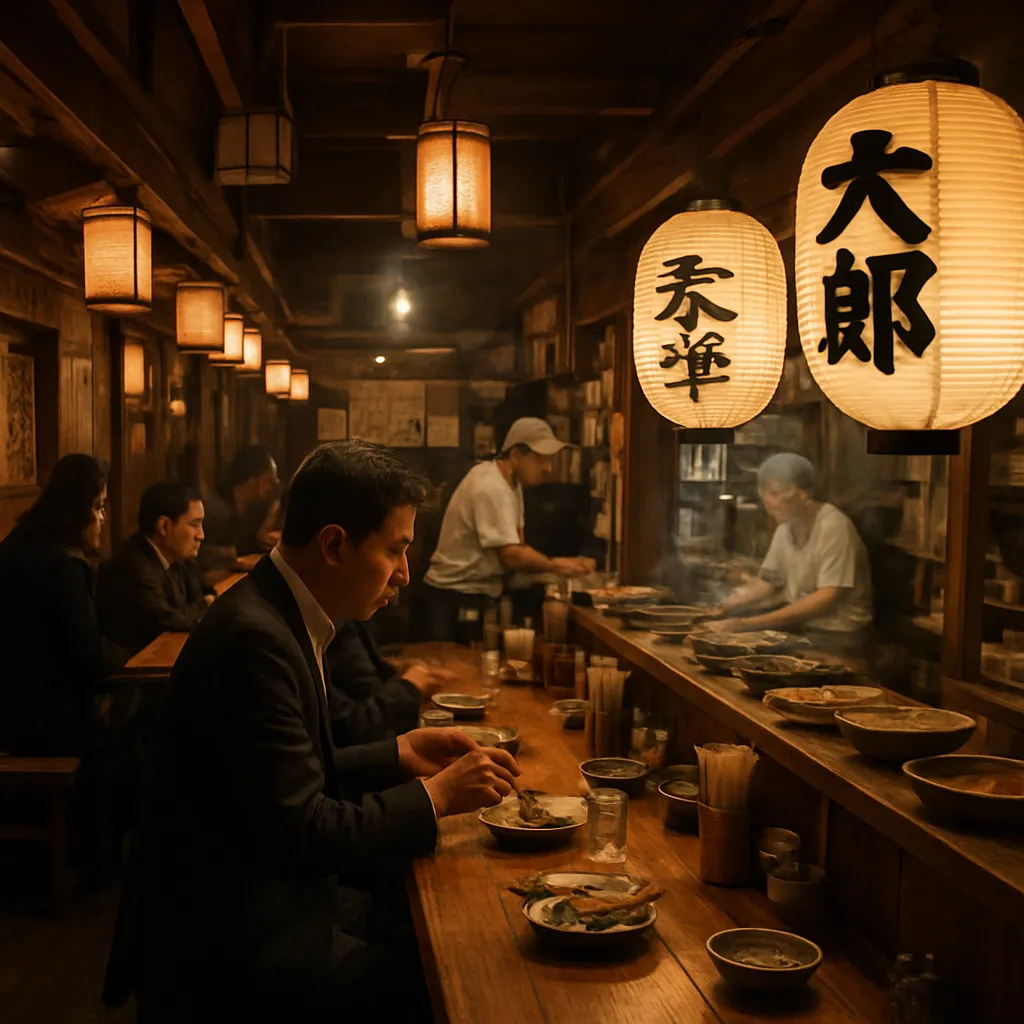
- Golden Gai (Shinjuku): Narrow alleys lined with tiny bars, offering intimate scenes and neon reflections.
- Akihabara Backstreets: Neon arcades and electronic store fronts create a cityscape that glows in vivid blues and pinks.
Iconic Landmarks After Dark
Tokyo’s famous landmarks transform under the cover of night, each presenting unique compositional challenges and rewards. From the historic Senso-ji Temple in Asakusa to the futuristic silhouette of Tokyo Tower, timing and vantage point are essential for compelling images.
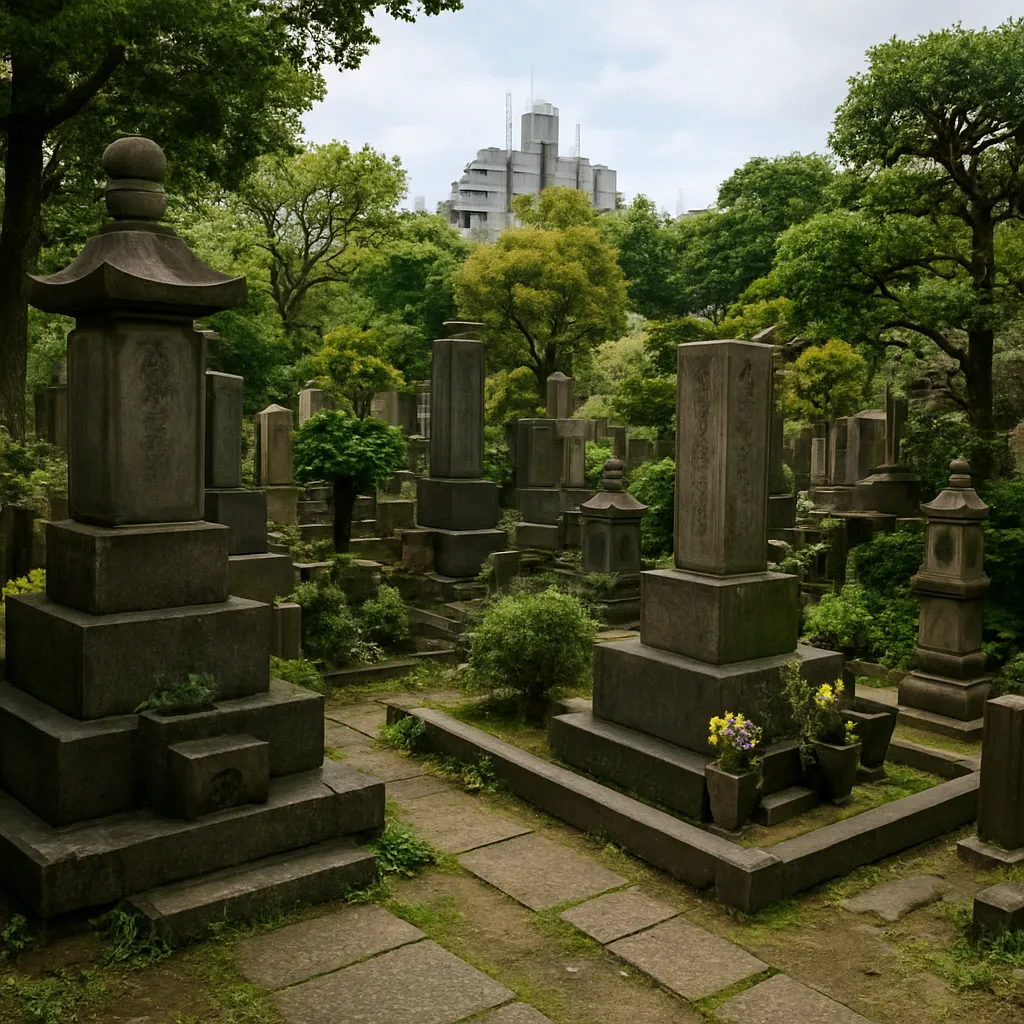
Senso-ji and Asakusa
While most tourists depart by early evening, the outer grounds of Senso-ji remain lit by traditional lanterns. Use a wider lens to capture the imposing gate framed by stone lanterns and shadows. A slow shutter speed around 1/4 second can blur passing visitors into ghostly forms, adding a sense of motion and temporal contrast.
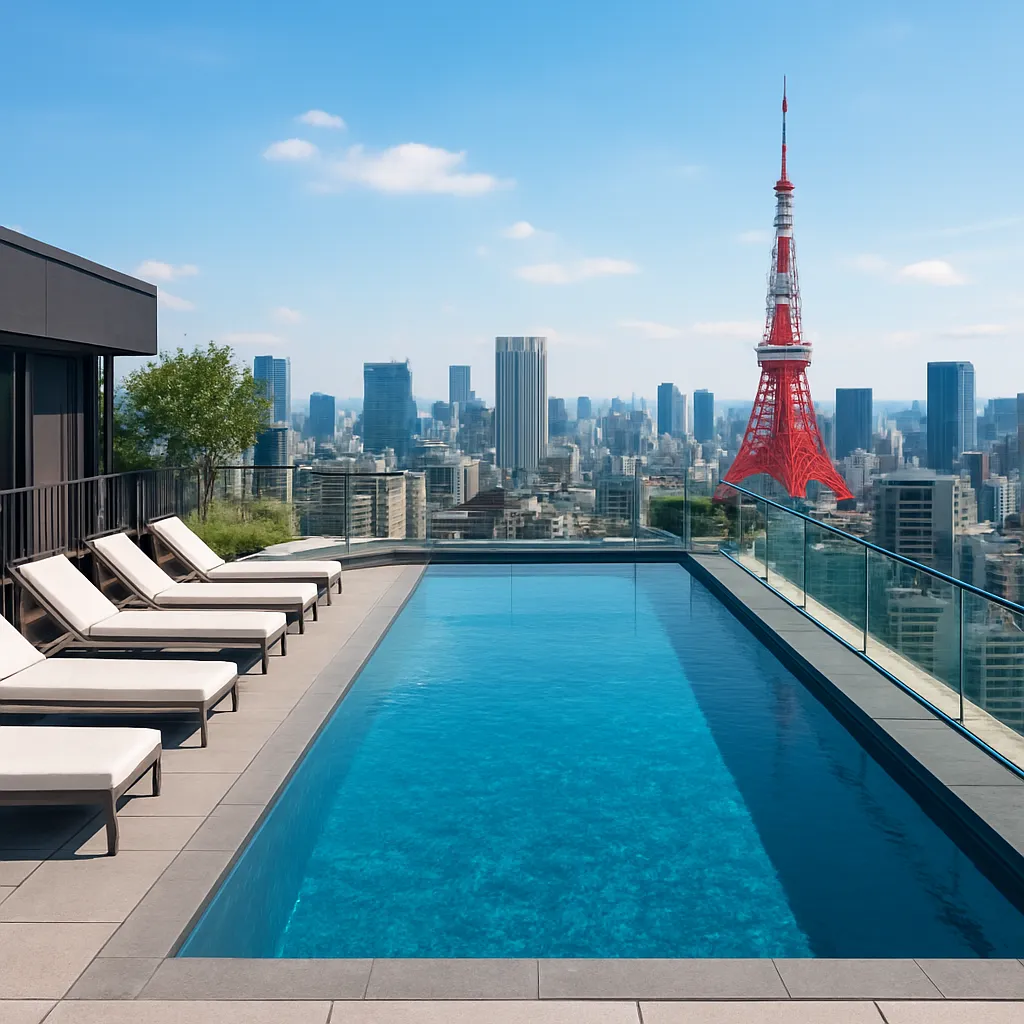
Tokyo Tower and Skytree
Both landmarks offer observation decks, but external vantage points are equally rewarding. For Tokyo Tower, shoot from Zojo-ji Temple grounds to juxtapose old and new. To photograph Tokyo Skytree, head to Sumida Park along the river for gentle reflections on the water. Compose your shot when the tower’s LED lights cycle through different colors to inject visual interest.
Rainbow Bridge and Odaiba
The Rainbow Bridge spans Tokyo Bay and is illuminated in ever-changing hues. Park near Odaiba Seaside Park at low tide to capture long reflections on wet sand. A tripod-mounted camera using a 5–10 second exposure will smooth out water ripples and intensify the colorful bridge lights.
Hidden Gems and Off-the-Beaten-Path Spots
Beyond the well-known districts lie quieter neighborhoods where authentic scenes and contrast between tradition and modernity await. These lesser-known locations offer the chance to craft intimate narratives of Tokyo’s nocturnal life.
Yanaka Ginza Alley
A remnant of old Tokyo, Yanaka’s main alleyway feels like stepping back in time. Modest street lamps and storefront signs glow softly above retro shops selling snacks and crafts. Use a mid-range lens (35–50mm) to capture a single lamp and storefront, isolating details in the dimly lit surroundings.
Meguro River Cherry Blossoms
In spring, the riverside is lined with thousands of cherry trees illuminated by paper lanterns. Even outside the blossom season, the gently lit riverside benches and bridges create a peaceful scene. A long exposure (around 2 seconds) captures the rippling water and glowing riverbank lights, highlighting natural beauty amid urban sprawl.
Underpasses and Backstreets
Exploring beneath train overpasses in Kanda or the backstreets of Ebisu can reveal unexpected compositions. Rusty beams, exposed electrical wires, and puddles reflecting overhead lamps form gritty, dynamic frames. A close-focus wide-angle lens emphasizes the depth and texture of these industrial enclaves.
Mastering Composition and Post-Processing
Night photography in Tokyo isn’t just about capturing bright lights; it’s about crafting a story through composition, exposure, and careful editing. Paying attention to lines, patterns, and color temperature will elevate your images from snapshots to compelling visual narratives.
Compositional Tips
- Leading lines: Use streets, bridges, and railings to guide the viewer’s eye through the frame.
- Rule of thirds: Place key elements—such as neon signs or lanterns—off-center for balanced tension.
- Foreground elements: Introduce silhouettes or architectural details to add depth.
- Symmetry: Reflections on wet pavement or water can create striking mirrored compositions.
Optimizing White Balance and Color
Artificial light sources often cast various color casts, from the cool blue of LED signs to the warm yellow of sodium vapor lamps. Shoot in RAW format to adjust the white balance precisely. In post-processing, tweak the temperature slider and selectively boost saturation or vibrance to preserve natural hues without oversaturation.
Noise Reduction and Sharpening
High ISO settings can introduce unwanted grain. Use noise reduction tools sparingly to smooth backgrounds while retaining edge detail. Apply local sharpening to crucial areas—such as neon lettering or architectural edges—to maintain crispness and clarity.
Practical Tips for a Smooth Shoot
Planning and adaptability are key to maximizing your night photography session in Tokyo. Factor in crowd flow, weather conditions, and public transport schedules to make the most of every shooting opportunity.
Timing and Patience
- Blue hour: Approximately 30 minutes after sunset, the sky retains a deep blue that contrasts beautifully with city lights.
- Late night: After 10 PM, foot traffic decreases and long exposures become easier without constant pedestrian interruptions.
- Weekdays vs. weekends: Weekday evenings often have fewer crowds in nightlife districts.
Safety and Etiquette
- Respect private property and avoid obstructing pedestrian walkways.
- Use a small tripod or monopod to minimize your footprint in busy areas.
- Be mindful of Japanese customs: avoid loud conversations and always ask permission before photographing individuals up close.
Local Resources
Consult smartphone apps for real-time train schedules, weather forecasts, and sunset timings. Join local photography communities on social media to discover new composition ideas and upcoming events like rooftop light shows or seasonal illuminations.